

It’s natural to feel a mixture of emotions once you’ve booked in for your first hearing test. You’ll likely be a little anxious about what’s going to happen, but at the same time, happy that you’re finally tackling your hearing issues and proactively investing in your health.
To help you understand the process a little better before you go, this article will explain the basics so that you can get the most out of your visit.
4 essential guides to understanding your hearing test
1. The Initial Discussion
All initial hearing appointments with an audiologist start with an in-depth chat about your reason for visiting them. They’ll ask a few key questions and query you on your hearing worries, as well as what sort of lifestyle you lead.
They’ll also ask whether you experience any acute symptoms, such as ringing in your ear, pain, or dizziness, alongside your impaired ability to hear.
This conversation is necessary for enabling the audiologist to tailor any interventions to your specific case, so answer honestly and in detail.
2. Examining Your Ears

After your chat, the audiologist will likely perform a quick examination of your ears. They’ll use a special implement called an otoscope to shine a light into your ear canal to see if there are any signs of infection or blockage, which could affect the hearing test.
If there’s no evidence of either of these problems, they’ll proceed to explain the test.
3. The Test Itself
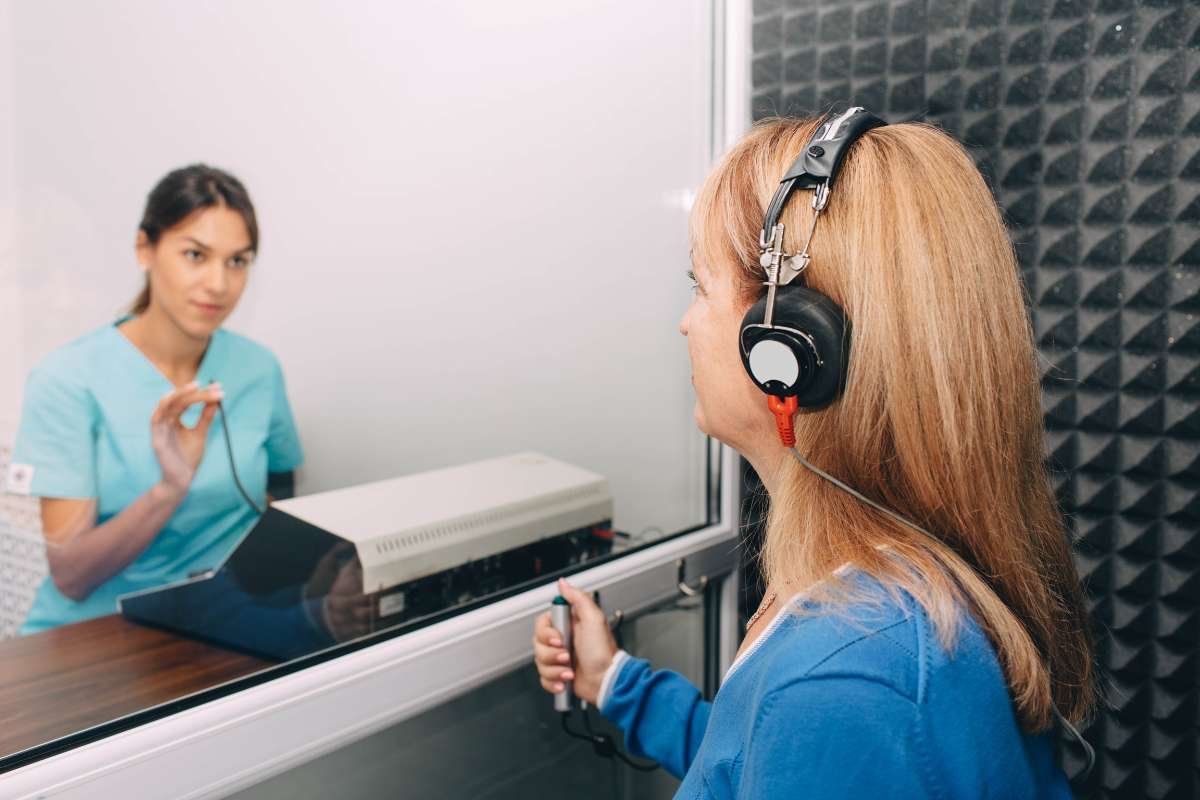
To begin the test, the audiologist will have prepared a booth for you to sit in that’s been specially designed to block out background noise, as excess can interfere with the results (click here to learn about environmental noise and hearing tests). You’ll be asked to wear a pair of high-fidelity headphones, and a short pre-test will run to make sure everything’s working correctly.
Your audiologist will then explain the test in detail. While there’s some variation between providers, most tests work much the same way: a series of sounds at different volumes and frequencies will play through your headphones, and you’ll be tasked with pressing a button as soon as you hear them. A basic test usually takes around 10 minutes, but some elements may be repeated.
4. The Results

Once the hearing test has finished, you’ll step out of the booth and discuss your results with the audiologist. They’ll show you how your hearing compares to the norm in a graph: each time you press the button, a node is made on this graph, which then corresponds to how well you can hear at certain frequencies and volumes.
Depending on how you do, they may suggest hearing aids, though if you’re a borderline case, they might just recommend waiting for your next test to see if there have been any changes, while reminding you to be cautious with loud sounds so as not to worsen your hearing.
Wrapping Up
While going for a hearing test might seem a little daunting, it’s a quick, painless procedure that can have a big impact on your quality of life. Hopefully, you now feel a little more prepared about yours.