

WordPress is easy to use, especially for one-page sites. But if you want to use WordPress Multisite, a feature that lets you manage multiple websites from one installation, things can get a little trickier.
Even though you can’t turn this on with Guide To WordPress Multisite default settings, it’s easy to add this feature. Once it’s turned on, you can use WordPress Multisite to create a network of websites and manage them all from one dashboard.
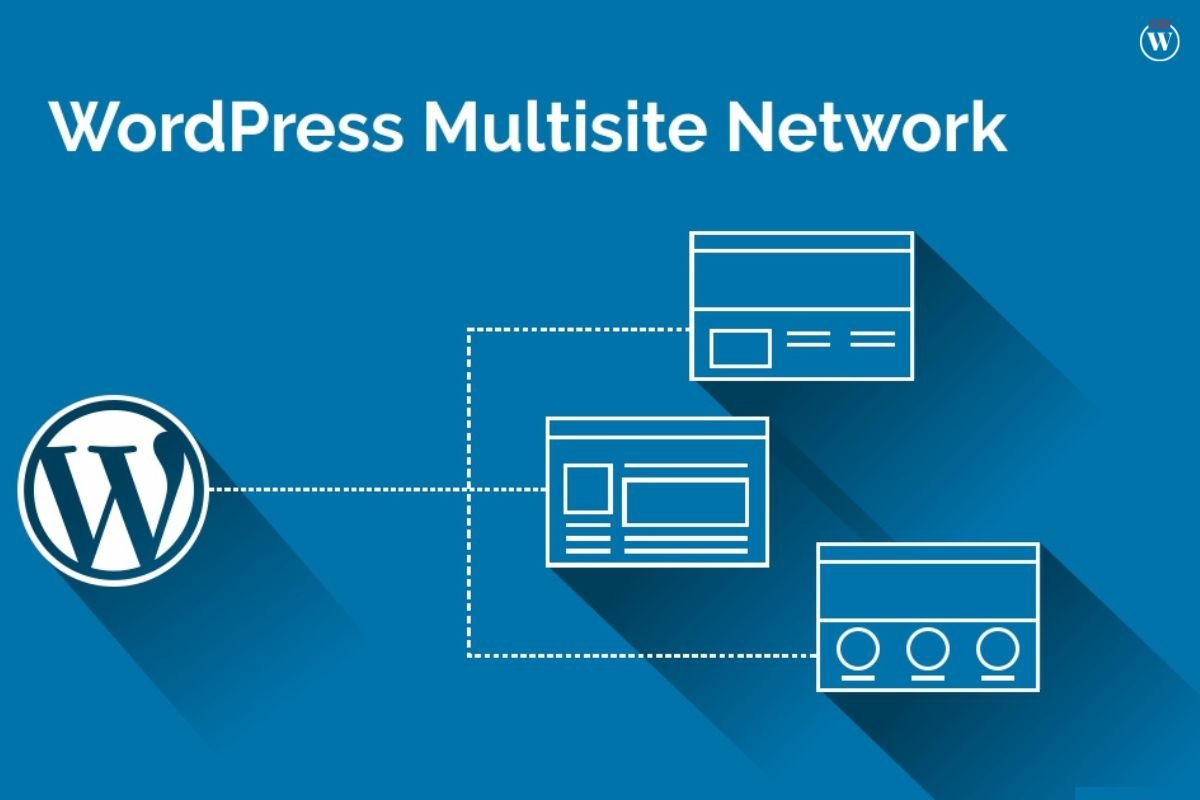
With WordPress Multisite, you can make a network of websites from a single WordPress installation. It started with WordPress MU, a feature that was added in June 2010 to help people set up networks of blogs. The goal of WordPress Multisite is to make it easier to manage multiple websites that are linked to each other from one place.
WordPress Multisite is a feature of the Guide To WordPress Multisite CMS, but you have to turn it on before you can use it. Once it is turned on, it fits right into the WordPress interface. As long as you’ve worked with WordPress before, Multisite shouldn’t take too long to learn.
Here is a full Guide To WordPress Multisite;
1. HOW TO SET UP A WORDPRESS MULTI-SITE (IN 6 STEPS):
If you’ve decided that you want this feature, you may be wondering how to set up WordPress Multisite. Here are the six steps to setting up WordPress Multisite:
Set up WordPress.
Save your site.
Turn off all of your plug-ins.
Change the file wp-config.php
Add the Multisite plugin to Guide To WordPress Multisite.
Let the Multisite Network work.
Step 1: Get WordPress set up.
If you are starting from scratch with a Multisite network, you need to install WordPress. Your web host should let you install things with just one click. If that isn’t an option, you can get the software from WordPress.org if you need it.
Note that if you’re setting up a new WordPress installation for this Multisite, you can choose whether your network’s web addresses will use subdomains or subdirectories. A subdomain looks like this:
While this is how a subdirectory looks:
In general, a subdirectory is easier to work with because it makes a new directory for each site on your network. This means you don’t have to change your domains or Domain Name Server (DNS) records. But if your website has been around for more than 30 days, you will have to use subdomains in Multisite for Guide To WordPress Multisite.
Step 2: Make a copy of your site.
If you are setting up WordPress from scratch, there won’t be much to back up. But if you already have a Guide To WordPress Multisite that you want to install Multisite on, you should back it up first. This site will be the main hub of your network of sites.
There are different ways to make a copy of your website. You can do this by hand, through your hosting company, or with a plugin that backs up and restores.
Step 3: Turn off all of your WordPress plugins
WordPress says that you should turn off all currently running on your site plugins before you turn on Multisite. You can turn on your plugins again once the feature is working.
Again, if this is a new installation of WordPress, you probably won’t have any plugins installed, let alone turned on. But if you’re using an already-made site, you can turn off all of your plugins at once for Guide To WordPress Multisite.
To do this, go to your WordPress dashboard and click on Plugins > Installed Plugins. Check the box to select all plugins, and then click on Deactivate: from the Bulk Actions drop-down menu.
Taking WordPress plugins offline.
Then click the Apply button. Next, log out of WordPress. Only then can you move on to the next step. You can do this by moving your mouse over your username in the top right corner of the screen and clicking Log Out.
Step 4: Update the “wp-config.php” file
The next step is to update the files on your WordPress site to make the WordPress Multisite feature work. You can do this in different ways. A File Transfer Protocol (FTP) client like FileZilla is one option. You can also use the file manager that comes with your web hosting account for Guide To WordPress Multisite.
The next step is to go to the root directory of your WordPress site. You can do this with FTP or a file manager. It is often called public HTML. Find the wp-config.php file in that folder and open it:
The wp-config.php file is part of WordPress.
Find the line “/* That’s it, stop editing!” in the file. Happy blogging. */. Add the following line above it:
/* Multisite */
define(‘WP ALLOW MULTISITE’, true);
Save the changes to your file when you’re done with Guide To WordPress Multisite.
Step 5: Set up Multisite on WordPress
You can now sign in to your WordPress admin panel again. Go to the Tools menu and click on Network Setup:
The menu item Set Up Guide To WordPress Multisite.
You’ll need to give your network a name and give someone super admin rights (if not yourself). Make sure their email address is here:
Note that you wouldn’t see the Sub-domain Installation notice above if you had just installed WordPress. That is there to let us know that we can’t use subdirectories. If your site is brand new, on the other hand, you will be given a choice of how to set it up.
Click the Install button when you’re ready. If your web host and control panel software need you to set up a wildcard subdomain before you can move on, you’ll get a message before you can move on. If that happens, you can set up a wildcard subdomain by following WordPress’s instructions for Guide To WordPress Multisite.
Step 6: Turn the network on.
It’s now time to turn on the Multisite network. You will see two pieces of code on the next screen. One has code you should add to your wp-config.php file, and the other has code you should add to your.htaccess file:
Setting up a network of WordPress sites.
Go back to your file manager or FTP program. Make sure that the option to show hidden files is turned on, and then open wp-config.php again. Follow WordPress’s instructions for where to put the snippet, then save your changes and close the file for Guide To WordPress Multisite.
The next step is to change the.htaccess file. This file is usually hidden on the server, so you’ll need to make sure that the file manager shows all hidden files.
If you still can’t see.htaccess, but you know it’s there (you can check by looking for it in your file manager), add “&showhidden=1&saveoption=1” to the end of the URL for your file manager.
Once you’ve found your.htaccess file, open it, and paste the code that WordPress gives you after the statement “RewriteEngine On.” Save the changes to the file and sign in to WordPress again.
All done! You’ve successfully set up Guide To WordPress Multisite and turned it on. But now is the time to figure out how to use this feature.
2. HOW TO USE AND ADMINISTER WORDPRESS MULTISITE:
You probably already know that when WordPress is set up for Multisite, it looks a little different, especially if you are the super admin. Your top menu bar will get a new item called “My Sites,” which is essential:
The “My Sites” item on the menu for Guide To WordPress Multisite.
So let’s look at what you can do with these new options, such as:
Setting up your network connections
Adding More Sites and People
Putting plugins and themes on a website Guide To WordPress Multisite
Putting out updates
Setting up your network connections
Here, the first step is to set up your network settings. On the dashboard for Network Admin, go to Settings > Network Settings. Since you’ve already made the Network Title and Network Admin (super admin) email, you can scroll down to set up registration, users, and other settings:
Setting up the settings for WordPress Multisite network registration for Guide To WordPress Multisite.
People can sign up to make their own sites on your network based on the settings for registration. You can also let the people in charge of the site add new users.
In the New Site settings, you can write custom messages that will be sent to new admins when they start adding new content to your Multisite network. Upload settings will keep your admins and other users in line by limiting what kinds of files they can upload to their sites and how big those files can be.
You can also change the default language for all of your sites on this page. There is also an option to turn on menu settings so that each of your site’s admins can choose which plugins they want to activate for Guide To WordPress Multisite.
When you’re done setting up your network, click the Save Changes button at the bottom of the page.
Adding More Sites and People
Even though the interface is mostly the same as before, there is a new module called Sites that you will notice. Here is where you can see a list of your network sites and add a new one by clicking the Add New button:
Adding a new site to a network of Guide To WordPress Multisite.
It’s easy to set up. Set the site’s web address and name, and then give it to an admin to run. When a user logs in to WordPress with that email address, the new site will show up. If they don’t know where to look, you can tell them to look at the My Sites tab in the menu bar at the top.
Click Sites > All Sites if you want to change more settings and users for the site. Then click the Edit button under the name of the site. There, you can give different people access to the site, change their roles, and let them use or not use certain themes for Guide To WordPress Multisite.
In the admin dashboard, you can add new users by going to Users > Add New. There, you’ll see a list of everyone who uses your site. You can also add and remove users from your network and sites with this module, just like you would with a normal WordPress installation.
Putting Themes and Plugins in Place
You can assign WordPress themes and plugins to a Multisite network in a few different ways. As we’ve already said, you can choose each site individually and change which WordPress themes it can use.
Also, if you click on the Themes tab in the sidebar, you’ll see these choices:
The Themes page for Guide To WordPress Multisite networks.
Here, you can make a single theme available to everyone on the network if you want everyone to build sites with the same look. Click on Network Enable to do this.
When it comes to plugins, you only have one choice. They can only be turned on for the whole network:
Plugins for Guide To WordPress Multisite.
There is no way to decide which plugins will be available on which sites. Also, if you checked the above-mentioned Menu options, your admins can decide at any time whether they want certain plugins to be turned on or off.
If you’re using an existing site, the plugins from your old WordPress installation will still be turned off. Now is a good time to get these going again.
Putting out updates
When it comes to security, WordPress Multisite is the same as a single-site WordPress installation. To keep all of your sites safe, you’ll need to keep up with WordPress core updates, as well as plugin and theme updates Guide To WordPress Multisite.
When you see a notification about an update in your dashboard, the update will be made to the whole network. This is because your server only has one version of WordPress, one version of each plugin, and one version of each theme. Only the master copy in your network dashboard will need to be updated, so you won’t have to log in to each site separately.
The only difference between standard updates and Multisite updates is that this process now needs to be done in two steps. The first is to install the update as soon as you’re told about it. After that, you’ll have to send the update & Guide To WordPress Multisite.
3. HOW TO USE WORDPRESS MULTIPLE SITE DOMAIN MAPPING:
After setting up your main network domain, installing WordPress, and turning on Multisite, you can start adding new sites to the network. If you are happy with naming your sites with subdomains and subdirectories, as described above, you won’t need this feature and can move on to the next part of this guide. But if you want to name your sites something different, keep reading.
Domain mapping in WordPress Multisite is how you link a custom domain name (like https://werdpressnerds.com) to a subdomain on your network. Yes, you can use more than one domain with Guide To WordPress Multisite.
As of WordPress version 4.5, domain mapping is built into WordPress. This means that you no longer need a WordPress plugin to do this. If subdomains and subdirectories don’t work, you can take care of this on your own.
Follow these steps for each site to which you want to give a custom domain name:
Buy a new domain and set up an SSL certificate.
Domain Mapping in DNS
WordPress: Add the Custom Domain
Step 1: Buy a new domain name and put an SSL certificate on it.
A domain name needs to be bought by the person who will run the subsite. If you haven’t already, you can get this from the company that hosts your site. Just search for the domain name you want to use, and then add it to your account.
Also, WordPress suggests that each site on a Multisite has its own encrypted login. Install a Secure Sockets Layer (SSL) certificate at the end of the custom domain setup process for extra security for Guide To WordPress Multisite.
Step 2: Set up the domain in DNS
Depending on which web hosting company you use to buy and manage your domains, this step will be different. But if you create your domain in the same account as your web hosting and the main domain for your network, this should be a quick and easy process Guide To WordPress Multisite.
Note: If your domain isn’t on the same account, you might want to think about transferring it now. If you’re going to do this for more than one website, it’s best to keep everything in one place.
We suggest doing a Google search for your host’s Multisite and custom domain mapping instructions. But you’ll likely need to do these simple things for Guide To WordPress Multisite:
You can get to your domain management system from your web hosting or domain account. You should have a number of choices for what to do with your domain. Find one that says something like “Assign a domain to your cPanel account.”
Choose the domain you want to give a custom domain name to and add it to your Multisite network. Then you can pick the option to make it an “Addon Domain.”
Next, you should be able to give your domain a unique directory. At public html/, you’ll find the main site for your network. So, yours will have to be at public HTML/[the name of your site].
You must also give this site a subdomain name if you want to use cPanel. Assign the domain when you’re done setting everything up. You’ve basically set up a subdomain for your Multisite network and covered it up with a custom domain name for Guide To WordPress Multisite.
Step 3: In WordPress, add the custom domain
Lastly, you need to connect your custom domain, which is now connected, to your Multisite network. Go back to WordPress to do this. Next, click on Add New under Sites:
Adding a custom domain to a network of Guide To WordPress Multisite.
You can add your new custom domain to the network in the Site Address (URL) field. Then, follow the steps above to set up a new site, add users, and add themes and plugins to it.
4. WORDPRESS MULTI-SITE RESOURCES, PLUGINS, AND THEMES THAT CAN BE USEFUL:
As with anything else you do in WordPress, it’s important to make sure you’re using the best tools and resources to work quickly and effectively. Even though the best ways to manage and maintain a WordPress site are still the same, there are some key differences in the resources you’ll need when running a Multisite setup.
Multisite may now be built into WordPress, but it doesn’t work with everything we use on a single site installation. So, let’s look at what kind of web hosting, Guide To WordPress Multisite, and plugins you should use to put quality, speed, and security at the top of your network’s list.
Hosting for multiple WordPress sites
Does web hosting really matter for WordPress Multisite, or does it just matter that you use a reputable web host? Absolutely.
First, you need to think about the fact that you’re running more than one WordPress site on this hosting plan. So, you’ll need to work with a web host that:
WordPress-savvy
Have plans made especially for hosting & Guide To WordPress Multisite
Customers who want to set up Multisite networks on their servers can get help from them.
Second, you’ll have to think about how hard all of these sites will be on your server. If you want to make a network with a few small blogs or static sites, shared or cloud hosting may be fine.
But if your site is bigger than that, you’ll be better off with plans that give you more bandwidth, storage, and control over how secure and fast your server is. Most of the time, a Virtual Private Server (VPS) is the best choice.
Kinsta* is one of the managed hosting companies that we highly recommend to our customers for Guide To WordPress Multisite.
The website for Kinsta.
Kinsta is a reliable hosting service for WordPress in general, and it also helps its customers set up and manage multiple sites. With Kinsta’s Pro plans, you can get help mapping your domains if you want to give that job to someone else.
This host also uses cutting-edge technology to run its services and takes customer service very seriously. It works best with WordPress sites that get a lot of traffic, so if you have one, it’s a great partner.
WordPress Themes for Multiple Sites for Guide To WordPress Multisite
Next, let’s talk about themes for Multisite in WordPress. As a reminder, the super admin is the only one who can install and turn on WordPress themes for use on individual sites in Multisite.
If you’re wondering which WordPress themes can be used on Multisite, the good news is that there aren’t really any limits. Most WordPress themes aren’t made for either a single WordPress site or a network of WordPress sites.
Having said that, a multipurpose or multi-concept theme is a good choice if you think about why you’re making a Multisite network in the first place and how it will be set up. Even if you only want to install a few theme files, a multipurpose theme still gives your users a lot of options for how to design and add features to their own sites for Guide To WordPress Multisite.
If you want to add high-quality WordPress themes that can be used for different purposes to your Multisite network, you can start with these top choices:
X Message
Kalium
Salient
TheGem
Uncode
You can also read our post about the fastest WordPress themes to think about.
Plugins for Guide To WordPress Multisite
Last but not least, we need to look at which WordPress plugins you can use with Multisite. Just like only the super admin can install and turn on themes, only the super admin can install and turn on plugins.
We’ve already discussed how plugins can cause problems for a WordPress Multisite network. This is why you should always check if a plugin works with more than one site before you install it or buy it. Most of the time, the developer of a plugin will say if it works with Multisite or not, so check for that information before committing.
Duplicator Pro for Guide To WordPress Multisite
There’s no need to worry if your web hosting plan doesn’t include cloning or migration services. The Duplicator Pro plugin* helps users save time when making new sites on a Multisite network that look the same as existing ones.
The people who work on Duplicator Pro want to give you one of the easiest ways to back up and restore your WordPress site. Plus, with so many great user reviews, it’s easy to see why people trust this plugin to back up and copy a website from one server or domain to another!
iThemes Security Pro iThemes Security Pro for Guide To WordPress Multisite
You have the final say on which plugins site admins can use, so it’s important to give them the tools they need to be successful. A big part of this is giving them a security plugin that works, like iThemes Security Pro. This is especially important when you have a lot of websites on the same server. This plugin works with more than one site, and it also comes with our Perform Plans.
White Label Branding, User Role Editor, User Switching, and Yoast SEO are some more WordPress plugins to think about. These tools can help you manage users across your network, optimize your content, and make sure your branding is consistent.
FINAL THOUGHTS
As you can see, WordPress Multisite is useful for WordPress developers and webmasters who want to run multiple websites from one domain. It lets you take care of all of them from your WordPress dashboard, which is very convenient.
As the super admin of a Multisite network, it’s important to remember that you’re in charge of all the sites that are linked to your network for Guide To WordPress Multisite.