

In recent years, the growing interest in sustainable living and the rising costs of traditional energy sources have fueled a surge in homeowners turning to solar power. Installing a solar energy system for home not only helps reduce utility bills but also contributes to a cleaner, more sustainable environment. In this comprehensive guide, we will take you through the step-by-step process of setting up your own solar energy system for home, ensuring a smooth transition to clean and renewable energy.
I. Understanding the Basics of a Solar Energy System for Home:
Before delving into the installation process, it’s crucial to comprehend the basic components of a solar energy system for home. The key elements include solar panels, inverters, mounting structures, and a solar energy storage system if desired. Solar panels are responsible for converting sunlight into electricity, while inverters transform the direct current (DC) generated by the panels into usable alternating current (AC). The mounting structures secure the panels to the roof or ground, optimizing exposure to sunlight.
II. Assessing Your Home’s Solar Potential:
The success of a home solar energy system greatly depends on the amount of sunlight your property receives. Conducting a thorough solar assessment will help determine the optimal placement of solar panels. Start by identifying the areas of your roof that receive the most sunlight throughout the day. Factors such as shading from nearby trees or buildings should be taken into account to maximize efficiency. Online tools and solar calculators can also assist in estimating the potential energy output based on your location.
III. Calculating Your Energy Needs:
Understanding your household’s energy consumption is a crucial step in designing an effective solar energy system for home. Review your utility bills to determine your average monthly and annual electricity usage. This information will guide you in selecting an appropriately sized solar system to meet your energy needs. Keep in mind that a well-designed solar energy system can potentially offset your entire electricity bill, providing significant long-term savings.
IV. Choosing the Right Solar Panels:
Selecting high-quality solar panels is essential for the efficiency and longevity of your home solar energy system. Consider factors such as the type of solar cells, efficiency ratings, and warranty terms. Monocrystalline and polycrystalline solar panels are two common options, each with its advantages. Research reputable solar panel manufacturers and consult with experts or solar providers to make an informed decision that aligns with your specific requirements.
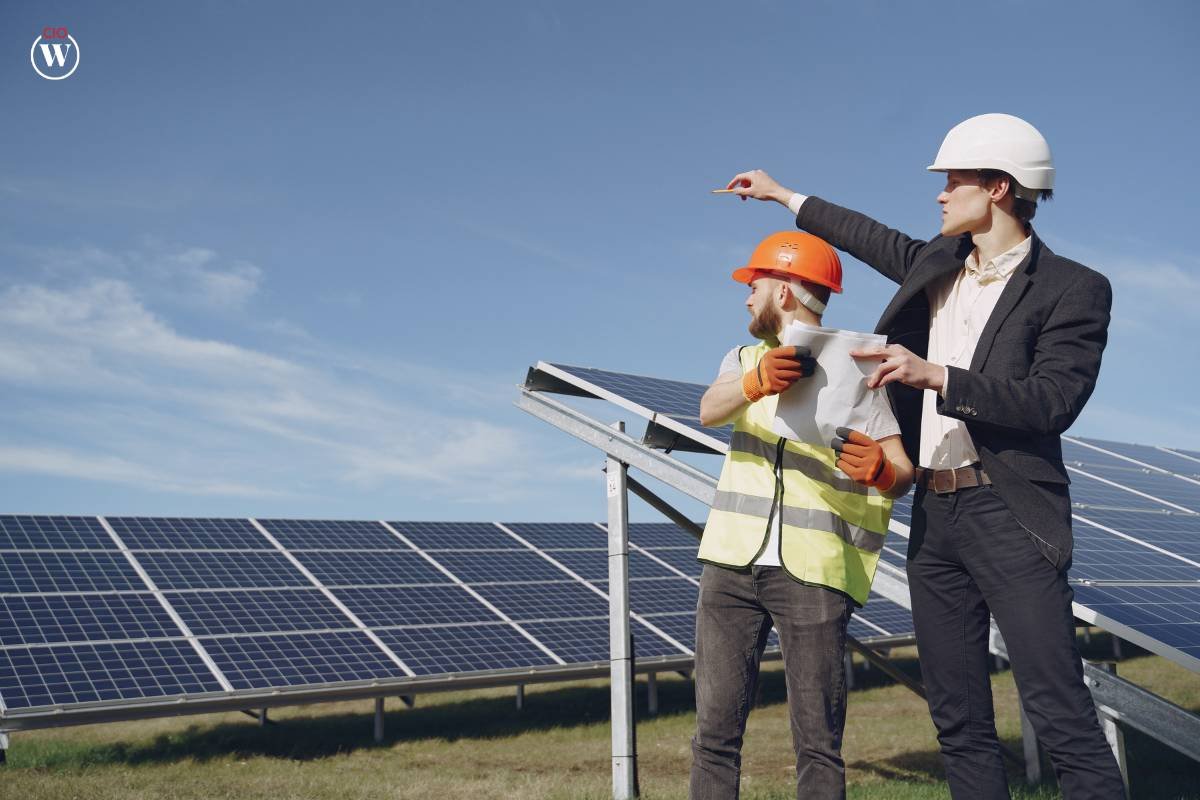
V. Designing Your Solar Energy System:
Once you have gathered the necessary information about your energy needs and chosen the right solar panels, it’s time to design your solar energy system for home. This involves determining the layout and placement of the solar panels on your roof or property. Factors such as roof orientation, tilt angle, and available space should be considered for optimal sunlight exposure. Work with a professional solar installer or use online design tools to create an efficient and aesthetically pleasing layout.
VI. Obtaining Necessary Permits:
Before initiating the installation process, it’s crucial to check local regulations and obtain the necessary permits for installing a solar energy system for home. Building codes, zoning requirements, and homeowner association rules may vary, so it’s essential to ensure compliance. Failing to obtain the required permits could result in delays or complications during and after the installation process.
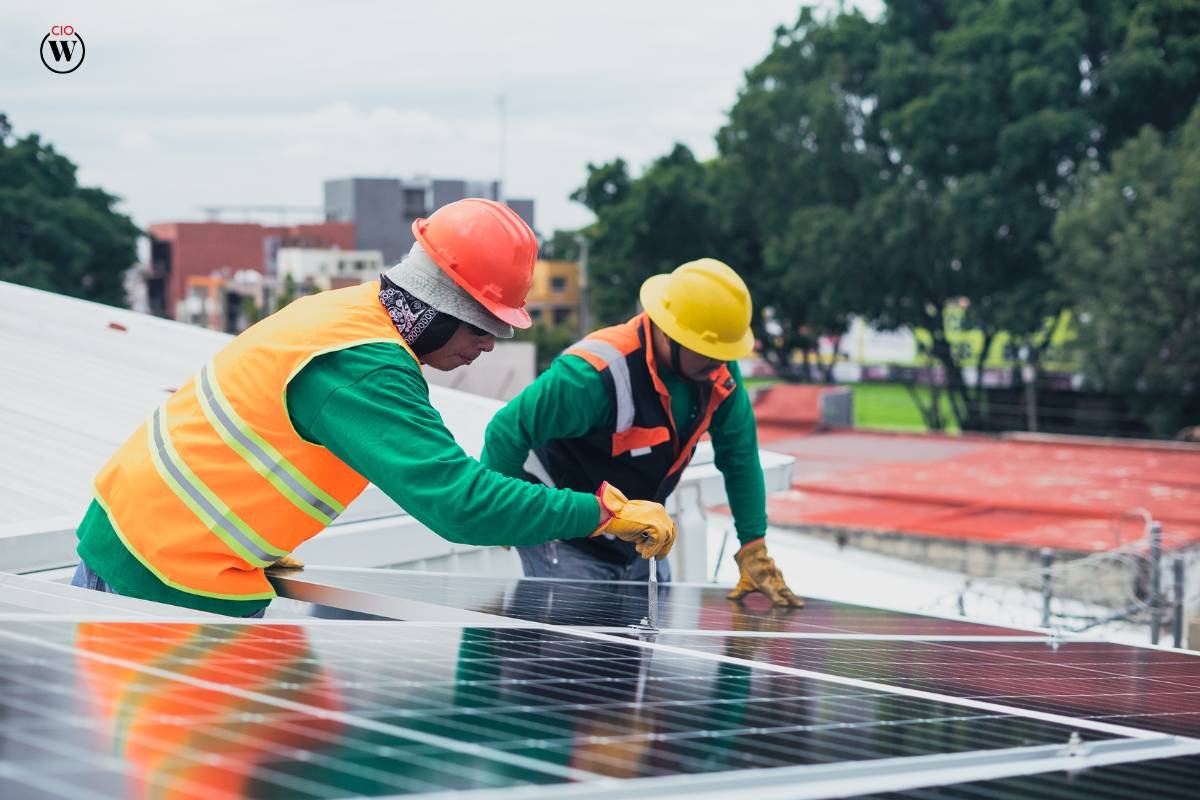
VII. Installing the Mounting Structures:
With the permits secured, the installation process begins with mounting the structures that will support the solar panels. Whether installed on the roof or the ground, the mounting structures must be securely attached to provide a stable foundation for the panels. Follow the manufacturer’s guidelines and consult with a professional installer to ensure proper installation and adherence to safety standards.
VIII. Connecting the Solar Panels:
Once the mounting structures are in place, the next step involves connecting the solar panels. This includes attaching the panels to the mounting brackets and wiring them together. Pay close attention to the electrical connections, ensuring they are secure and meet the specifications outlined in the system design. If unfamiliar with electrical work, it is advisable to hire a licensed electrician to handle this crucial step.
IX. Installing the Inverter:
The solar panels generate direct current (DC), which must be converted into alternating current (AC) for use in your home. This is where the inverter comes into play. Install the inverter in a well-ventilated area, preferably close to your main electrical panel. The inverter is a critical component, and its proper installation is essential for the overall performance of your home solar energy system.
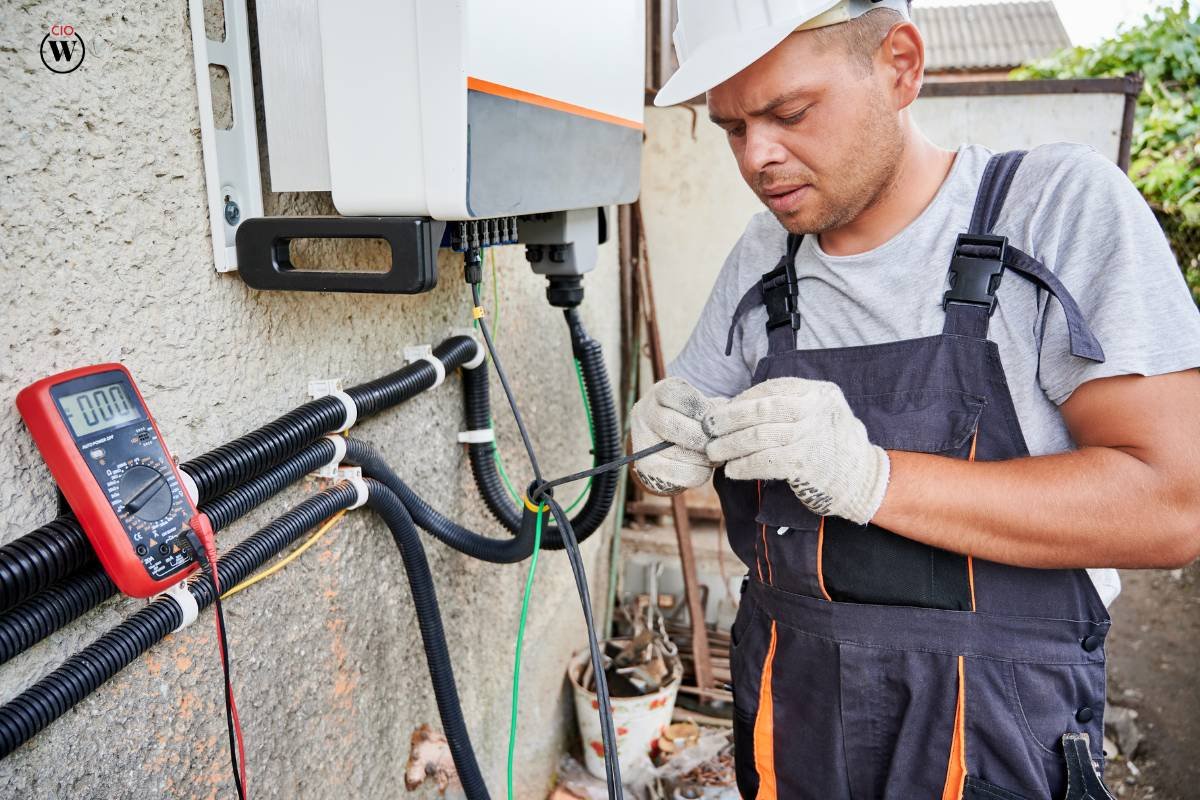
X. Connecting to the Electrical Panel:
To integrate the solar energy system with your home’s electrical system, connect the inverter to your main electrical panel. This involves tying the solar inverter into your home’s electrical distribution board. Again, it is recommended to hire a qualified electrician for this step to ensure compliance with local electrical codes and safety standards.
XI. Implementing a Solar Energy Storage System (Optional):
While not a mandatory component, incorporating a solar energy storage system can enhance the efficiency and reliability of your home solar setup. Energy storage allows you to store excess energy generated during the day for use during periods of low sunlight or power outages. Popular options include lithium-ion batteries, which are known for their durability and efficiency.
XII. Testing and Commissioning:
Before relying entirely on your newly installed solar energy system for home, conduct thorough testing to ensure all components are functioning correctly. This includes checking the output of the solar panels, monitoring the inverter’s performance, and verifying the integration with your electrical panel. Any issues or discrepancies should be addressed promptly by consulting with your installer or a qualified technician.
XIII. Monitoring and Maintenance:
Once your solar energy system is operational, regular monitoring and maintenance are essential to ensure optimal performance and longevity. Keep an eye on energy production through monitoring tools provided by your solar system manufacturer or installer. Periodically inspect the panels for dirt, debris, or any signs of wear. While solar panels require minimal maintenance, addressing issues promptly can prevent potential problems and extend the lifespan of your system.
Conclusion
In conclusion, installing a solar energy system for home is a rewarding endeavor that offers financial savings, environmental benefits, and energy independence. By following this step-by-step guide, you can navigate the complexities of designing, obtaining permits, and installing a home solar system successfully. Embrace the power of the sun and take a significant step toward a sustainable and eco-friendly future for your household with your own solar energy system.